
How to Deploy a Next.js App to Vercel — Complete Step-by-Step Guide (2026)
Deploying to Vercel is the simplest deployment story in web development. Here's every step, including environment variables, custom domains, and what to do when something goes wrong.
Zeeshan Zakir
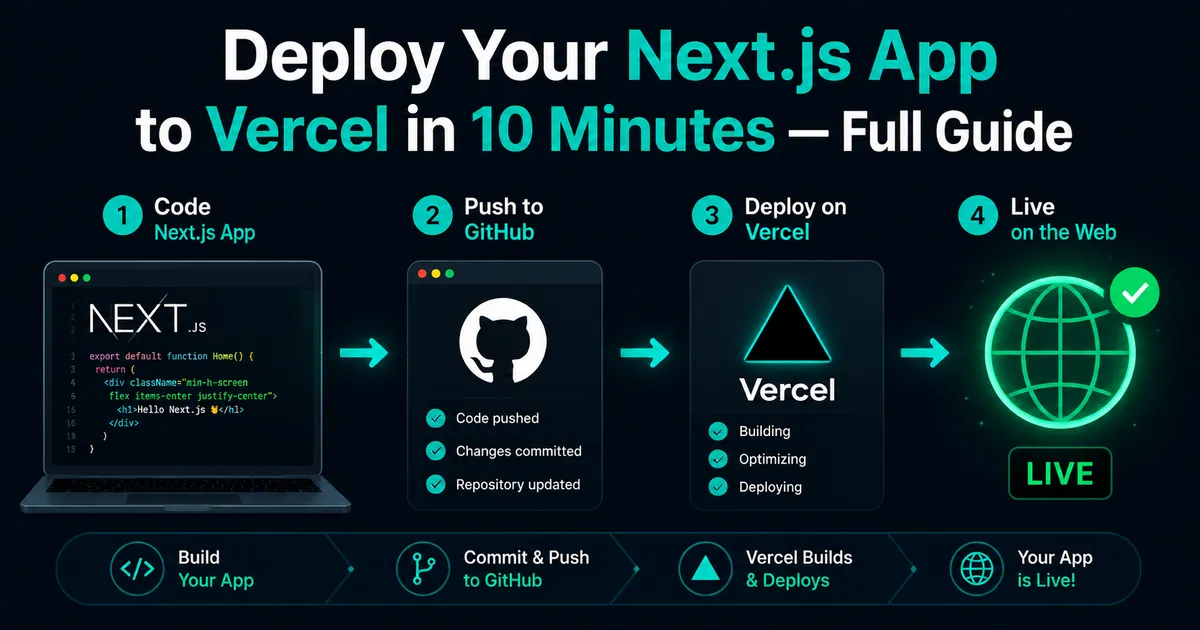
The first time I deployed a web app to a server I rented a VPS, installed Ubuntu, configured Nginx, set up SSL certificates manually, wrote a deployment script, and spent about six hours doing something that should have taken twenty minutes. It worked eventually but I was exhausted and half the configuration made no sense to me.
The second time I deployed a Next.js app I pushed to GitHub, connected the repo to Vercel, added my environment variables through a web interface, and watched the build complete. The whole thing took eight minutes and I got a live HTTPS URL with automatic SSL at the end of it.
The infrastructure improvement was not subtle.
Vercel was built by the team that created Next.js, which means the integration between the two is as seamless as it gets. But even if you're deploying a different React app, Vercel's workflow is the easiest deployment experience currently available for JavaScript projects.
Here's every step, including the parts that actually trip people up.
Prerequisites
Before you start, you need:
- A Next.js app on your local machine that runs without errors
- A GitHub account
- A Vercel account (free at vercel.com — sign up with GitHub for the smoothest experience)
Step 1 — Push Your Project to GitHub
If your project isn't on GitHub yet, initialize a git repository:
cd your-project-folder
git init
git add .
git commit -m "Initial commit"
Create a new repository on GitHub (github.com/new). Then connect your local project to it:
git remote add origin https://github.com/yourusername/your-repo-name.git
git branch -M main
git push -u origin main
Your code is now on GitHub.
Important: Make sure your .env.local file is listed in .gitignore before pushing. Environment variables with secrets should never be committed to a public repository. The create-next-app command creates a .gitignore that already excludes .env.local, but double-check this before pushing.
Step 2 — Connect to Vercel
Go to vercel.com and log in. Click "Add New Project."
Vercel will show you a list of repositories from your GitHub account. Find the Next.js project you just pushed and click "Import."
Vercel automatically detects that it's a Next.js project and pre-configures the build settings. You generally don't need to change anything in the default configuration for standard Next.js apps.
Step 3 — Add Environment Variables
Before clicking deploy, look for the "Environment Variables" section on the configuration page. This is where you add all the values from your .env.local file.
Click "Add" and enter each variable:
- Name:
MONGODB_URI - Value:
your-actual-connection-string
Repeat for every variable in your .env.local. This is the step most people forget and then wonder why their app deploys successfully but doesn't work.
Vercel stores these securely and injects them during the build and at runtime. Your app can access them via process.env.VARIABLE_NAME just like in local development.
Step 4 — Deploy
Click "Deploy." Vercel starts the build process. You'll see a build log streaming in real time. For a standard Next.js app the build typically takes 60–120 seconds.
When the build completes successfully you'll see a congratulations screen with a preview URL. Click it. Your app is live on the internet with a free SSL certificate and a Vercel subdomain like your-project.vercel.app.
Step 5 — Set Up Automatic Deployments
Here's one of the best parts of Vercel's workflow. Every time you push to the main branch of your GitHub repository, Vercel automatically triggers a new build and deploys it. You pushed code. The deployment handles itself.
For feature branches, Vercel creates a unique preview URL for each pull request so you can review changes before merging.
This deployment workflow — push to GitHub, deployment happens automatically — is what professional teams use. You've just set it up in minutes.
Connecting a Custom Domain
If you have a custom domain and want to use it instead of the vercel.app subdomain, go to your project settings in the Vercel dashboard and click "Domains."
Type your domain name and click "Add." Vercel will show you DNS records to add at your domain registrar. The two records are:
- An A record pointing to Vercel's IP (for the apex domain)
- A CNAME record pointing to
cname.vercel-dns.com(for the www subdomain)
Log into your domain registrar (Namecheap, GoDaddy, Cloudflare, wherever you bought the domain) and add those records. DNS changes typically propagate within a few minutes to an hour, though up to 48 hours is technically possible.
Once propagated, Vercel automatically provisions an SSL certificate for your custom domain. Your app is now live at yourdomain.com with HTTPS — no manual SSL setup required.
Update your environment variables after connecting your domain. Change NEXT_PUBLIC_SITE_URL from https://yourproject.vercel.app to https://yourdomain.com. Redeploy after making this change.
Troubleshooting Common Issues
Build fails with "module not found" error. Usually means a package is used in the code but not listed in package.json. Run npm install locally, check that the package appears in your dependencies, and commit the updated package.json.
App deploys but returns 500 errors at runtime. Usually a missing environment variable. Go to your Vercel project settings, check the environment variables, and make sure every value your app needs is present.
Build succeeds but the page returns blank. Often a client-side JavaScript error. Open the browser console on the deployed URL and read the error message. This is usually a window is not defined error from code that assumes it's running in a browser but is also running during SSR.
Images not loading after deployment. Make sure next.config.js includes the image domains for any external images you're using. Local images in /public should work without any configuration.
Database connection failing. If you're using MongoDB Atlas, check that 0.0.0.0/0 is in your IP allowlist (or add Vercel's IP ranges). Atlas rejects connections from unknown IP addresses by default.
The NEXT_PUBLIC_ Prefix
One thing that confuses Next.js beginners with Vercel deployments is the NEXT_PUBLIC_ prefix.
Environment variables are only accessible server-side by default. If you want a variable to be available in browser-side JavaScript (client components), its name must start with NEXT_PUBLIC_. For example, NEXT_PUBLIC_ADSENSE_PUBLISHER_ID or NEXT_PUBLIC_SITE_URL.
Variables without this prefix (like MONGODB_URI, ADMIN_PASSWORD_HASH, STRIPE_SECRET_KEY) are server-only. This is correct and intentional — your database credentials should never be exposed to the browser.
Need help building this?
I offer full-stack development services for startups and product teams.
If you want a faster path from idea to shipped product, I can help with architecture, frontend systems, backend APIs, and launch-ready builds.
View ServicesShare this post
Related posts
More practical reading from the blog to keep your momentum going.
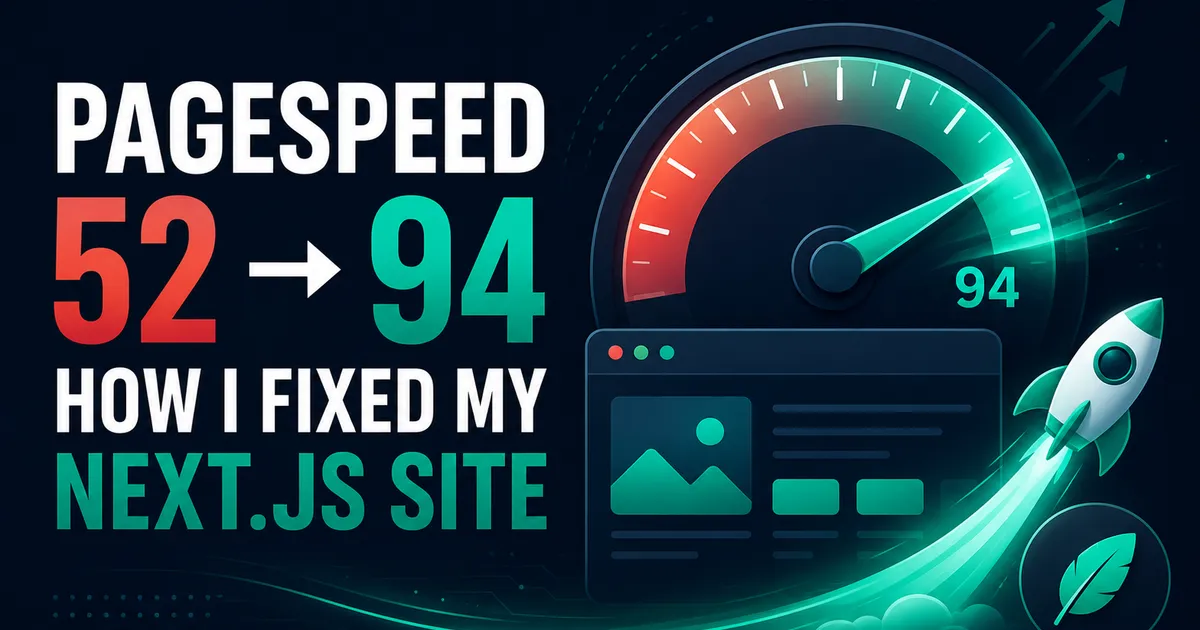
How I Reduced My Next.js Website Loading Time
My site scored 52 on PageSpeed and I was embarrassed. Here's every change that took it to 94 — images, fonts, and killing client JS.
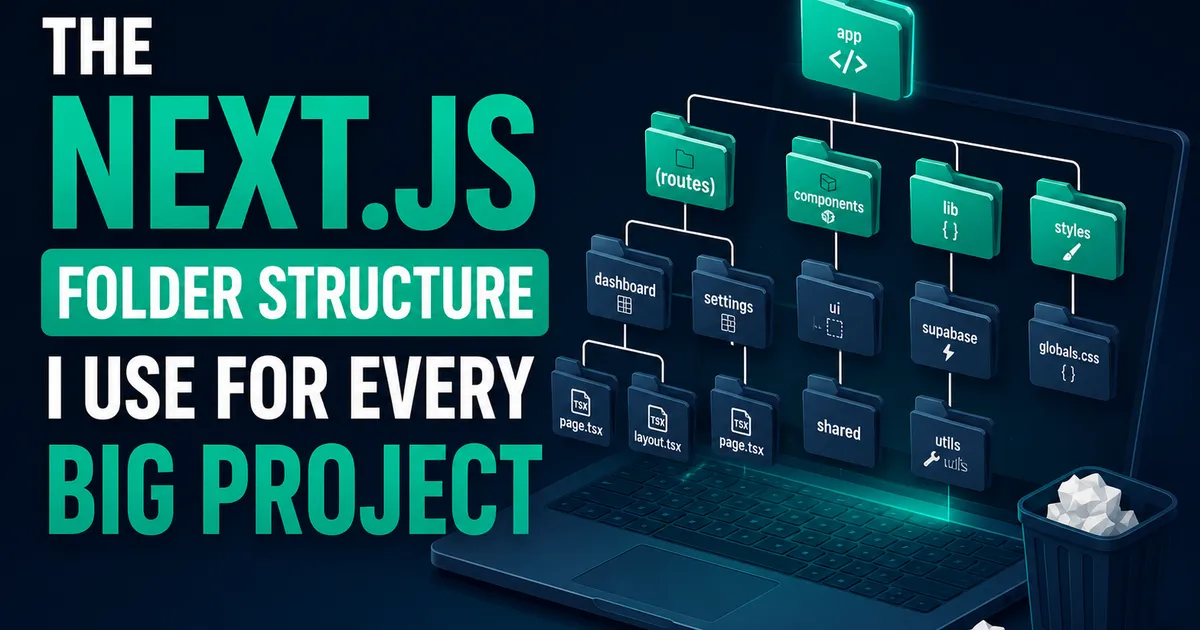
My Complete Next.js Folder Structure for Large Projects
After three painful refactors, this is the exact Next.js folder structure I now use for every large project. Copy it and save yourself the mess.
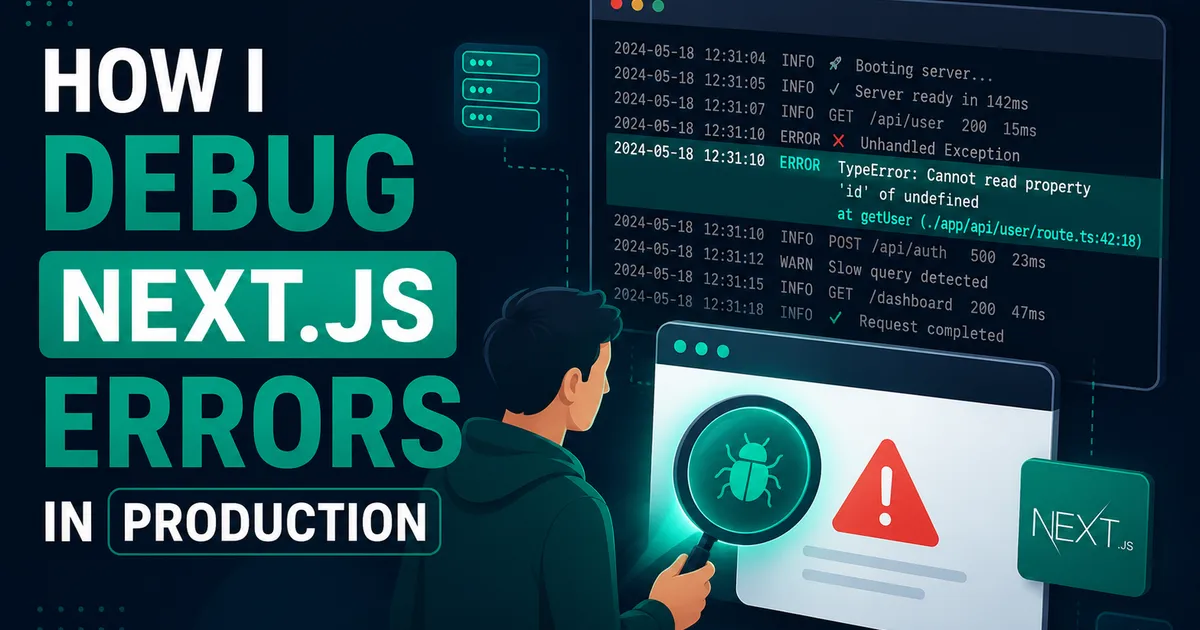
How I Debug Production Errors in Next.js
Production errors don't come with stack traces. Here's my exact debugging workflow for Next.js — digests, logs, Sentry, and hydration bugs.